|
|
|||||||||||||||||
|
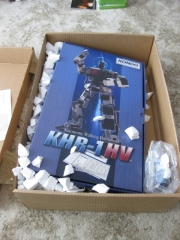
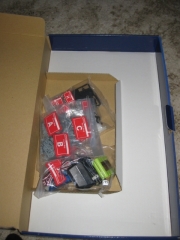
Having received the box in the post from Robosavvy, I opened it to fix the KHR-1HV box, and also the RAS-2 accelerometer I had ordered well packed and in perfect condition. Time to get things out of the box and see what weve got. |
 |
 |
|
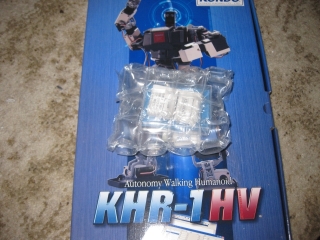
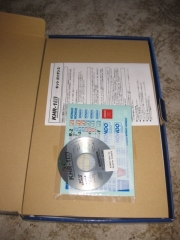
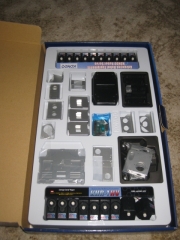
As anyone who is familiar with Japanese products and packaging, it will come as to surprise to them that the packaging itself is a work of art. Everything is very elegantly wrapped, and perfectly presented. After removing the card cover which the install CD decals and instructions are taped to, you are presented with a transparent cover to the components of the kit. Its everything Ive come to expect from Japanese presentation. All the packets of screws, wires and hinges are hidden underneath this presentation tray, and are all clearly labeled to make it very easy to find the component youre looking for. |
 |
 |
 |
|
The servos are a fairly standard RC servos so if youve done any RC work in the past these wont be new to you. Each servo comes with its cable already attached (its not removable), and there are two different length of cable, and two different types of servo included. The main Servo in the kit is the KRS-788HV and forms the backbone of the robot. There are also two KRS-4024SHVs included for the shoulders. The instructions included with the kit are, unsurprisingly in Japanese. My Japanese is passable, however Im not about to start trying to build the kit with my current skills, so after a quick trip to Robosavvys forums, Ive got the English instructions for both the 1HV and the RAS-2. Having read through them twice before even opening the kit, I think its time to get started. |
|
© 2009 Neil Hutchison |