 |
 |
 |
 |
 |
 |
 |
 |
 |
 |
 |
 |
 |
 |
 |
 |
 |
 |
 |
 |
 |
 |
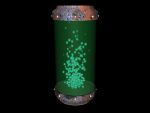 Early Animation Test - Bubbles in Cryo Tube
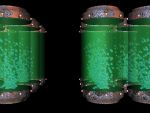 Early Animation Test - Camera Pan Test
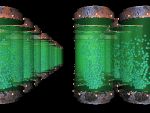 Animation Test - Adding Depth
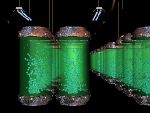 Animation Test - Adding Detail 1
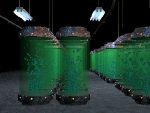 Animation Test - Lighting Test 1
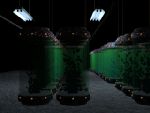 Animation Test - Lighting Test 2
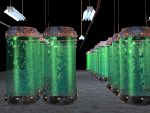 Animation Test - Lighting Test & Glass Test